
Upcycle a Box and Create a Notebook
Upcycling is a great way to reduce waste and give old items a new purpose. Here is a tutorial on how to upcycle a box and create a notebook.
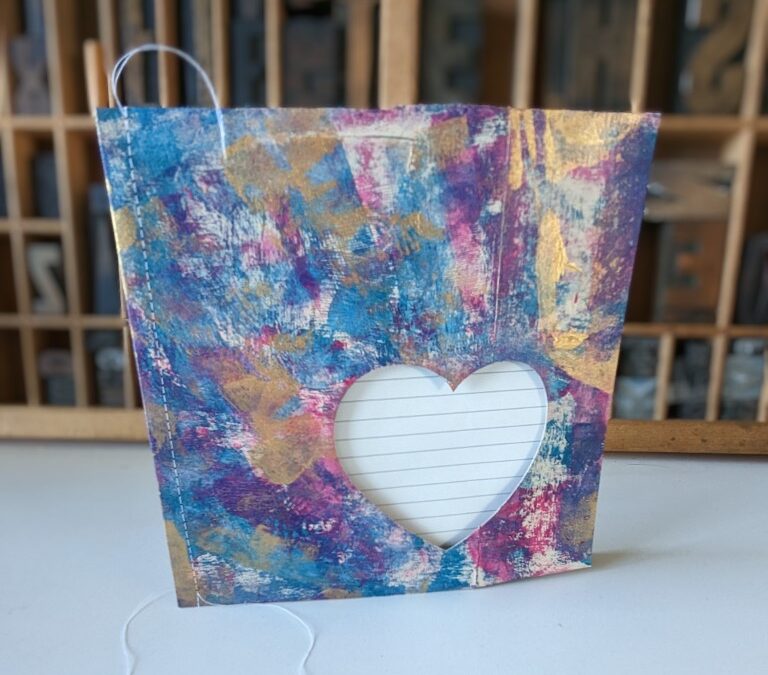
The notebooks are ideal if you are looking for something unique for a special occasion like mothers day or an engagement. Get friends and family to write in the notebook to be given on that special occasion or keep for yourself to journal.
If you like the idea but don’t have time, pop over to the shop and purchase one.
Materials
- Box or cardboard measuring 34 cm by 17 cm
- Acrylic Paints – I used Golden
- Scissors or craft knife
- Paint brush and/or roller
- Trimmer
- Pencil
- Paper
- Sewing machine or access to one
- Hairdryer (optional)
Instructions: – see video for full instructions
1. Flatten box and cut the excess off the top and bottom of box


2. Open one side of box – the opposite side is the spine of the book. 3. Use trimmer to neaten edges 4. Flatten out box 5. Roll out paint on separate piece of card and then roll onto box. Covering the background print as much as possible. Dry then repeat on other side.
  6. Add other colours as per No. 5. allowing to dry between painting the back and front and different colours 7. Cut your paper to fit your cover (Mine is 30 cm x 15 cm approx) and fold in half. I used ledger papers which were the right width after folding in half.
  8. Place paper inside cover 9. Stitch a row of stitches with the sewing machine along the edge.
  10. Congratulations you have made a notebook
Make sure to share your makes in the Facebook Group
Video Tutorial