Upcycle Fabrics Project No. 3
In this upcycle fabrics project we look at making the classic heat pad or wheat pad. Here in NZ the weather is still a little variable so a heat pad is probably worth having at hand. I call mine heat pads because I have traditionally made them with rice. Rice is easier to source and there is less chance of fire than with wheat. In this tutorial we will be making a heat pad with a removable cover. This means you can take the cover off to give it a wash.
I recommend cotton for making your heat pads but do check if there is any regulations around heat pads and what they should be made from especially if you want to sell. (for previous upcycle fabrics projects you can view them here)
Note: Please see below for video tutorial
Equipment Required
- cotton fabric – I’ve used a plain cotton for the inner pad and floral sheet for cover
- measuring tape or ruler
- pins
- rice
- measuring cup
- funnel
- scissors
- sewing machine
Instructions
Heat pad
Step 1 For the cover of the heat pad cut out one fabric piece measuring 32 cm x 15 cm and two pieces 21 cm x 15 cm. For the lining cut two pieces measuring 30cm x 13 cm.
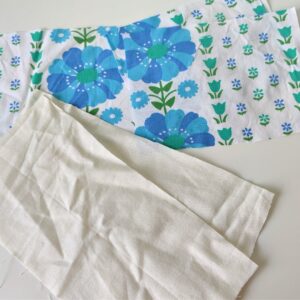
Fabric Pieces
Step 2 Edge all pieces with a zig zag stitch.
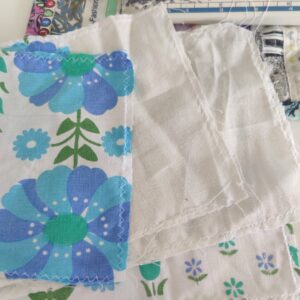
Zig Zag Stitch
Step 3 Place the two pieces of the liner together and pin 1.5 cm from the edge on the two short sides and one long side. Fold the liner together (2 short sides together) and mark the crease with pins. Stitch around the outside edge (2 short sides and one long side) then stitch down the middle. Stitch along the unstitched piece (this will be the top) leaving a gap either side of the middle line of stitches of about 3 cm.
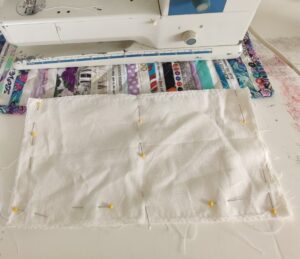
Pin Placement
Step 4 For the outer cover I have a selvedge edge on the two short pieces so I folded over once and top stitched (fold over 1.5 cm and then top stitch) If you had to zig zag choose two edges and fold over and top stitch (these are the pieces that will overlap on the back side of the cover)
Step 5 Lay the larger piece for the cover right side up (this is the brighter side of the cover) then take the two smaller pieces and lay face down on the larger piece so right sides together. Match the outer short edges together and then lay the two smaller pieces overlapping each other. Pin all the way around the outside about 1.5 cm from the edge and then do a straight stitch around the edge.

Layering Fabric for Cover
Step 6 Trim all loose threads. Turn the cover in the right way and poke the corners carefully so as to not make a hole.
Step 7 Take the funnel and place in the top of the pad (in the hole you left) take a cup of rice and pour it into the funnel and gently move the pad so the rice gets into one side of the pad. Pin closed and repeat on other side. Stitch the holes closed. Trim all loose threads.
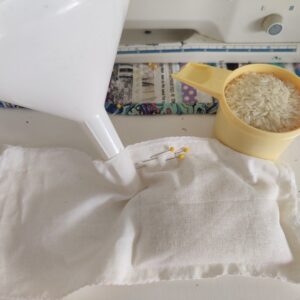
Funnel and Rice
Step 8 Put the pad into one end of the cover (through the gap in the back of the cover) and then gently ease the pad to the other side of the cover by holding the short end of the cover and pad together.
Step 9 You have made a heat pad congratulations.
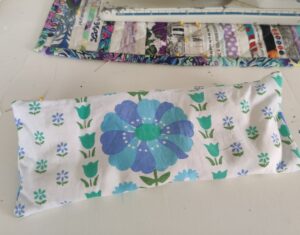
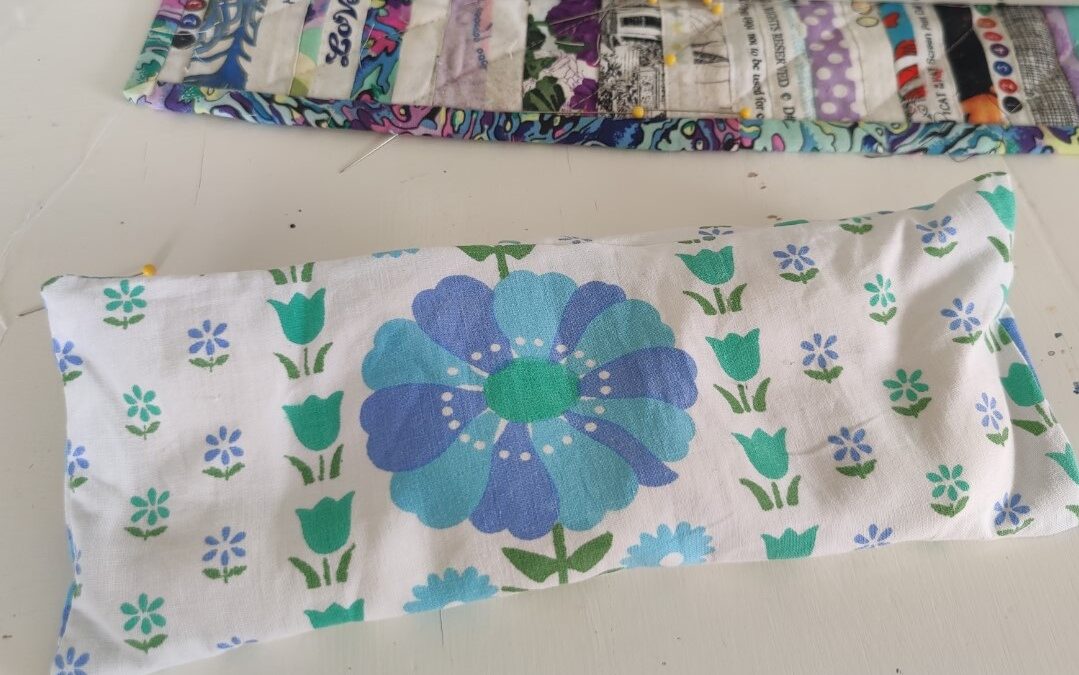
Finished Heat Pad
Video Tutorial
Further Projects
I’m always on the look out for more ideas to add to the upcycle fabrics project blogs so if there is something you would love to learn how to do let me know.
If you have any questions about the heatpads please come over to my Facebook group and ask away.
If you are going to make heat pads to sell then please read up on the regulations around making them (yes there are regulations in NZ) Also it would be of benefit to have a overlocker/serger for much more professional finish.
Happy Sewing



Thank you’ I learnt so much and didn’t realise how simple it would be to make wheat bags. Gift ideas for Christmas’ yayyy… very much appreciated
Hope you have fun sewing them up