
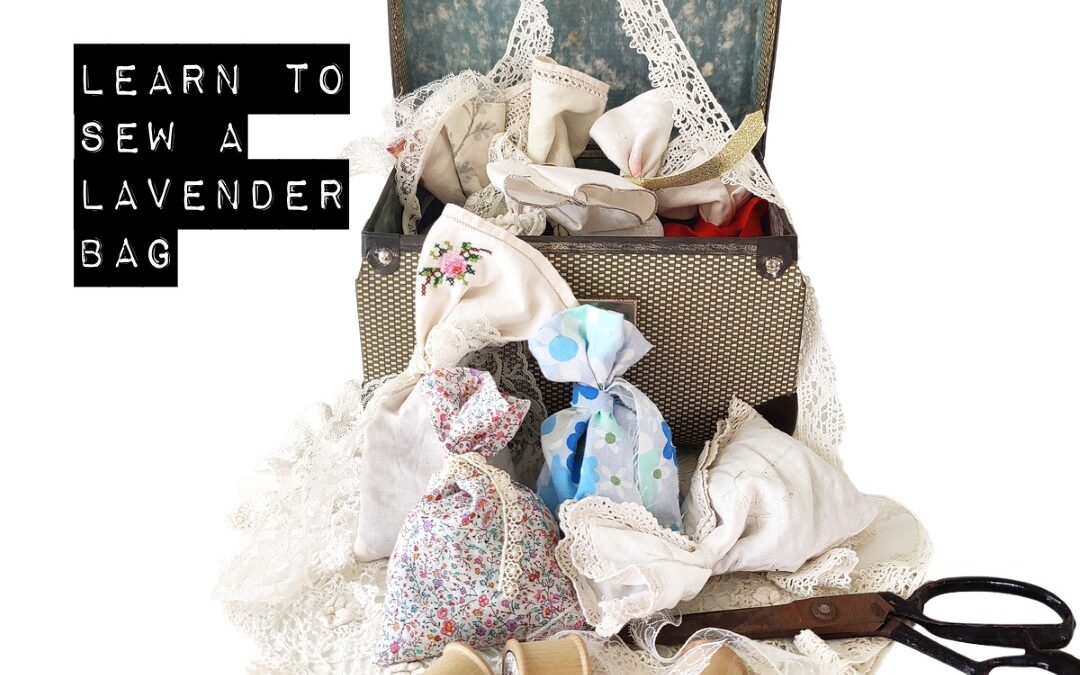
Learn To Sew A Lavender Bag
If you love the smell of lavender then this tutorial is for you. You will learn to sew a lavender Bag which you can keep or giveaway as a gift. I have included the link to the video tutorial as well, as many people prefer to learn while watching. Before we start though, you will need to gather your materials.
You Will Need:
- Fabric and/or vintage napkins
- Lavender
- Access to a sewing machine
- Lace for trimming bags
- Ribbon, string and other things suitable to tie the bag closed
Click Here To Download Your Lavender Bag Pattern
Instructions
Take your napkins and other fabric that you want to use for your Lavender bags.

• If the fabric you are using has a selvedge (The bit down the side with no printing on it) fold inwards from there to fit the template provided, with the long side of the template along the fold, and pin together. This gives you one less seam to sew.
• Cut material around template but do not cut the folded side. (When printed the template will measure 12cm x 19 cm)
• Take your napkins and if it is only slightly bigger than the pattern, that doesn’t matter. Fold longways and pin together.
• If your napkin is much larger, fold again and pin the pattern to the napkin and cut to fit. If there is excess napkin you can always make more bags!
• If the cut sides of fabric/napkins look like they will fray, I suggest you do a quick zig zag stitch along any cut edges to fix this.
• Place right sides together, pin, and do a straight stitch along the sides so that only one of the short sides remains open. At this stage it doesn’t hurt to also zig zag stitch around all 3 sides, just to tidy up the edges.

Trim any loose threads, and fold a very narrow hem around the end that you’ve not yet sewn, so that the opening of the bag is nice and tidy.. Be sure to fold inwards, so there isn’t any underside of the fabric showing on the outside of the bag.
Straight stitch right around the hem, until you get back to the beginning, and then go back around with a zig zag stitch. If you have an overlocker, you can overlock around the edges, and not do the straight and zig zag stitches

If you want to add a lace trim to go along the top, now is the time to cut it to fit the top of the bag. Pin the lace to the top of the bag, right sides together and sew around, using a straight stitch.

Once you have done this, fold the lace out, and do another straight stitch as close the the lace as you can, right around. This helps to make the lace stand up.
Trim the lace, so it is the same length as the bag and is nice and tidy.
Fold your fabric lengthways and pin together, so you have the shape of your new bag.

Sew down the long side, starting just down from the top of the opening. Do a couple of forward stitches and then a couple of backstitches, before going right down the side. This is to ensure the seam is secure. Sew along the bottom of the bag,

Trim any loose threads, and turn your bag out the right way. If you find you don’t get nice corners at the bottom, turn your back inside out again, and carefully cut a small section off each of the bottom corners, making your bag sit nicely, just be careful not to cut too close to the stitching.
Turn the bag back in the right way, and if the corners are still a bit puckered, you can use a pin to carefully pull them out.

Stand your bag up, and gently pour the lavender in.
Take your lace/ribbons you want to use and tie around the top of the bag, and trim to the length you want.
You can trim the edges and use a little clear nail polish on the ribbon edges to stop them fraying, if needed.
And you’re done!
Sew A Lavender Bag Video
News
Keep up with the latest news around travel both overseas and in Aotearoa/NZ, secondhand shopping and much more sign up for the newsletter below. I promise not to spam you. I generally send one a month at most two.